Hello there! Thank you for bearing with me as I post (once again) about the house update. To be honest, I hadn't given a "house tour" before because I never was home alone as I am now to clear away all the clutter to do proper photos to show you. Of course, this is my house in progress, so please be kind as not all the walls have decorations yet. That will come someday, hopefully soon!
I thought I would take you through the house from the front entrance. Note the new window seating we put in, mentioned in my
last entry. Also note the decades old Ethan Allen chairs Hubby inherited from a nice old lady back in LA. They look fine in the photo, but definitely could use a reupholstering job someday. Not by me though. I'll happily pay someone, thankyouverymuch!
From the doorway, you keep going, and then you get a peak of the newly redone family room (yay!)
Ok, before we move into the family room, let's take a look at what's to the right when you're facing the dark console (still debating if we should make it a lighter color...it's the dining room! I love the light coming in from the French doors during the day. I never get to enjoy that till I took the time off. hehe.
Then June's little toy piano (hiding just to the left of the side table (that I put there for now for lack of better place...). The newly scrubbed out fireplace too, which doesn't have any decor in it yet.
June's giraffe rocker (courtesy of my friend Amy), and now we're back at the window seat.
Heading over now to the family room, which you have seen before. But notice the eye-sore of a bookshelf is now replaced with this beautiful piece from Crate & Barrel which I had been wanting since over a year ago. Hubby finally said I could get it, since I wouldn't stop nagging about how ugly the other one was. Besides, now he's really making good use of the shelf space. double-win!!
Another shot of the family room. That's right, I just can't get enough of this fireplace which warms my heart. hee hee. ;)
A closer look at this C&B beauty. Believe or not, it cost us the same as an IKEA piece I was looking at...and not even close really, in quality.
Now...the 1-yr new kitchen view from the family room (finally clean for the shoot!)
And then view from the dining room, which we saw earlier. Love the amount of light coming in...
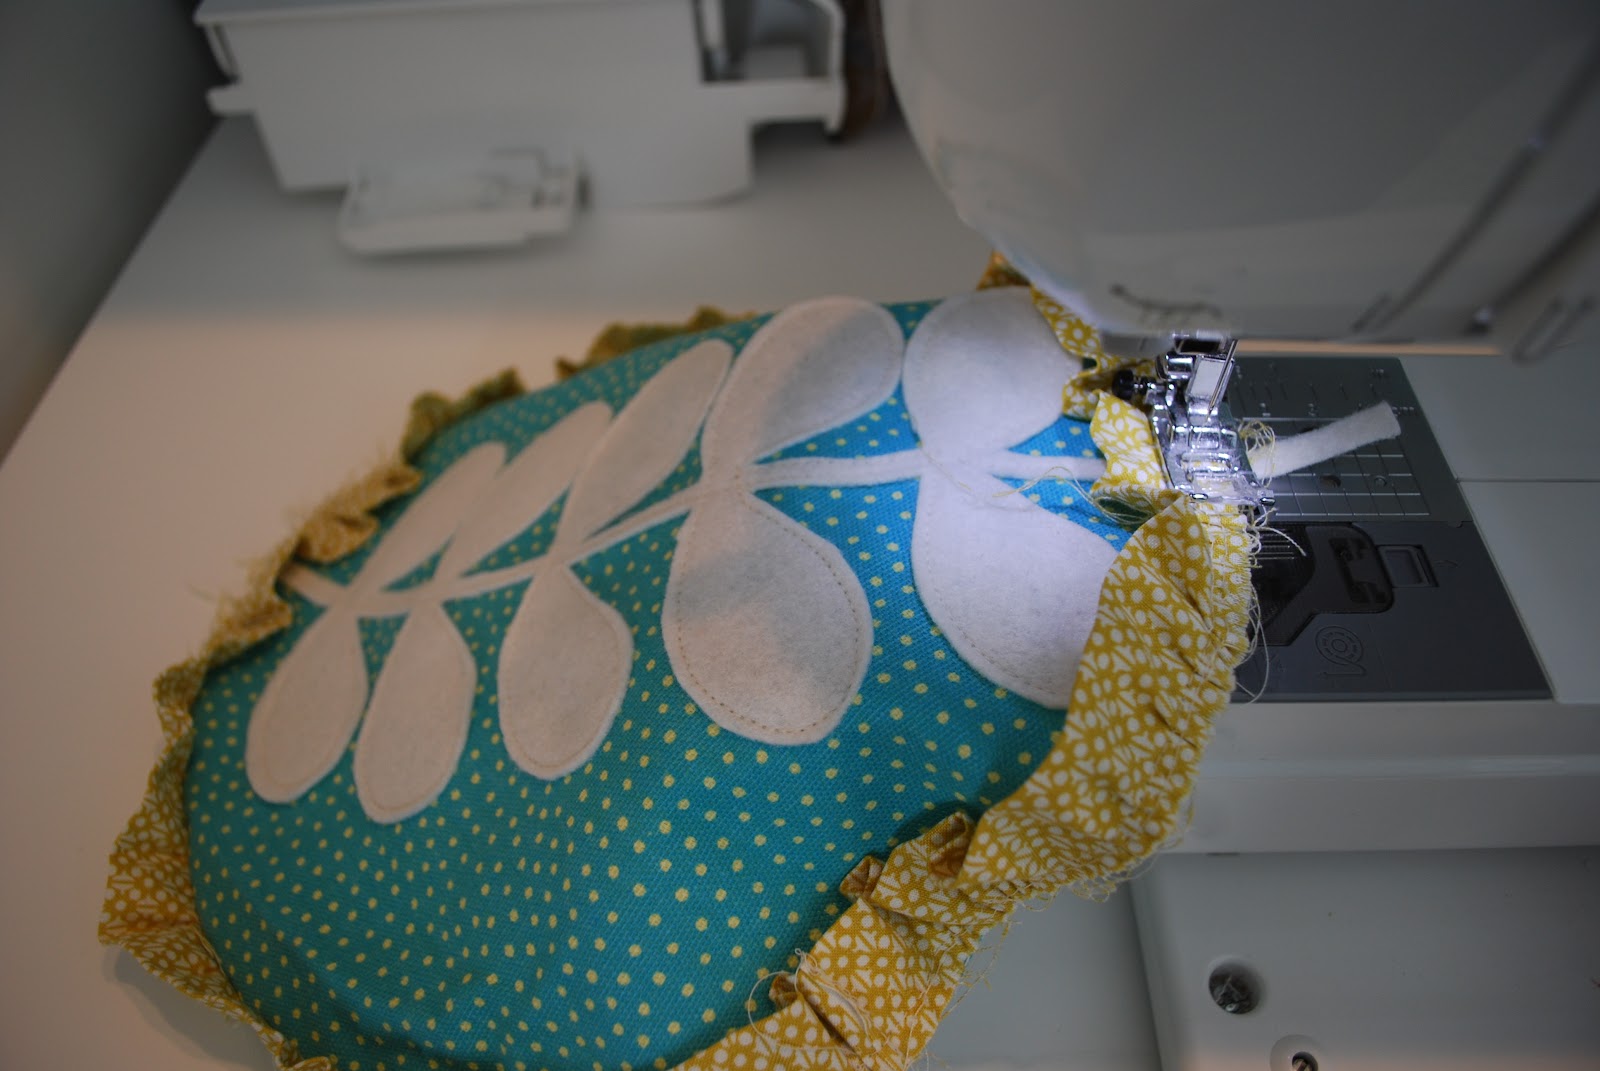
Ok, the only room you should probably take a peak at is my VERY in progress sewing room.

Nothing to really beam about (yet), but can I just say that I made the magnetic chalkboard AND the button magnets on it? Yes, I used some tools, took an old vanity mirror apart, and made this chalkboard. I was SO proud. And then I drew my logo on it. It's my JJ Design studio!
The antique shelf of antique threads and buttons in the first pic is a find from hubby's grandma's old house. It had spider egg sacs all over it, actually, when I pleaded with Hubby to take it home with us. He was extremely grossed out, but I think my pleading worked! I refreshed parts of the paint, and it's looking great!
Also, I don't think I ever shared my sewing nook with anyone, partly b/c it's always a mess. But this little closet nook was already in the room when we moved in, so I looked high and low for a desk that would fit perfectly (since we're NOT handy people)...and found it on Overstock.com!! It is the perfect size. It literally couldn't have been 1/8" wider. It just fit. Then Hubby and the dad-in-law helped to put up some shelves for me. I love the shelving, just wish it was more organized.
Ok, I think that's all I have to share right now for the downstairs of our house. Upstairs will have to be another time. Maybe when I take another sabbatical I'll get to cleaning up and decorating up there too. Although you have seen plenty of
Baby J's room from last year, and also
her bathroom. So I guess we just have the master, master bath, and the guest room left! I promise I'll get it out one of these days...
Thanks for reading through all this! Hope to see you again soon!